想當初玩《音樂播放器之 CD 轉成 mp3《三》下‧上》時,只剩下『穿衣服』的事?此說雖然有點荒唐!不過是軟硬體就算已 OK ,總是少了個『外殼』哩??故此不願提『焊接』矣!!不考慮

Make your very own open-source, Raspberry Pi linux-powered digital snappy camera with built in rechargeable battery! The SnapPiCam Raspberry Pi Digital Camera is a cool project showing what you can be done with a Raspberry Pi, PiTFT and acrylic enclosure. This is a fairly advanced project, for people who are very comfortable with soldering, assembly, Raspberry Pi hacking, etc!
The Laser-Cut sets can be bought from The LittleBox Company and the other major components are available from Adafruit.
Inside is the 5 megapixel Raspberry Pi camera, this can be either the standard version or the Noir Infrared-sensitive edition. Power comes from a rechargeable 1200mAh LiPo battery. The battery is recharged via a Mini-B USB cable plugged into the built-in LiPo charger. A 2.8″ TFT + Touchscreen at the back allows access to the camera’s GUI.
On the outside can be attached a variety of lenses including Fish-Eyes, Telephoto Lenses, Zoom lenses, and Macro Lenses. On the underside of the SnapPiCam is a standard 1/4-20 Nut for attachment to a Tripod.
Pre-Checks

You’ll need the following before you can begin.
Parts
Raspberry Pi, camera, and power!
- 1 x Raspberry Pi Model A
- 1 x Raspberry Pi Camera (Standard | Noir)
- 1 x PiTFT
- 1 x LiPo Charger
- 1 x 1200 mAh LiPo
- 1 x Step-Up DC DC Converter (5v output) – A PowerBoost 500B might work
- 1 x USB A to Mini-B Cable
Storage and a way to get the data off:
- 1 x 8gb Micro SD Card
- 1 x SD Card Adapter
SnapPiCam Laser-Cut Set containing the following:
- 26 x Laser-Cut Parts
- 4 x M3 Microbarb Brass Inserts
- 2 x M2.5 Microbarb Brass Inserts
- 15 x M2 Microbarb Brass Inserts
You’ll also need some hardware, available from mcmaster.com and others:
- 4 x M3 45mm Screws
- 2 x M2.5 8mm Nylon Screw
- 4 x M2 12mm Screws
- 4 x M2 8mm Screws
- 7 x M2 4mm Screws
- 1 x 1/4-20 Square Nut
- 2 x M3 4mm Nylon Spacers
- 1 x 3mm x 12mm x 15mm Stick Foam Pad
Some headers:
- 2 x 0.1″ Right-Angle Pin Header
- 2 x 0.1″ Female Connector
- 2 x 0.1″ Single Pin Covers
Switches:
- 1 x SPDT Slide Switch
- 4 x Slim Tactile Button
Optional (but strongly suggested!)
- 1 x Small Raspberry Pi Sticker
- 1 x Wrist Strap
Extras
The SnapPiCam has been designed to use Mobile Phone Magnetic Lenses. The standard size for the magnetic ring which the lenses attach to has a ~13.5mm Outer Diameter (OD) and a ~9.5mm Inner Diameter (ID). There are hundreds of different lenses available, I favour the Fish-Eye Lenses myself.
Tools
Soldering Iron | Screw Drivers | Needle Files | Small Hammer | Hobby Knife | Mini Clamps | Acrylic Glue | Suitable Wire | Heat-Shrink
……
『八腳章魚』的作法,打算直接用『行動電源』
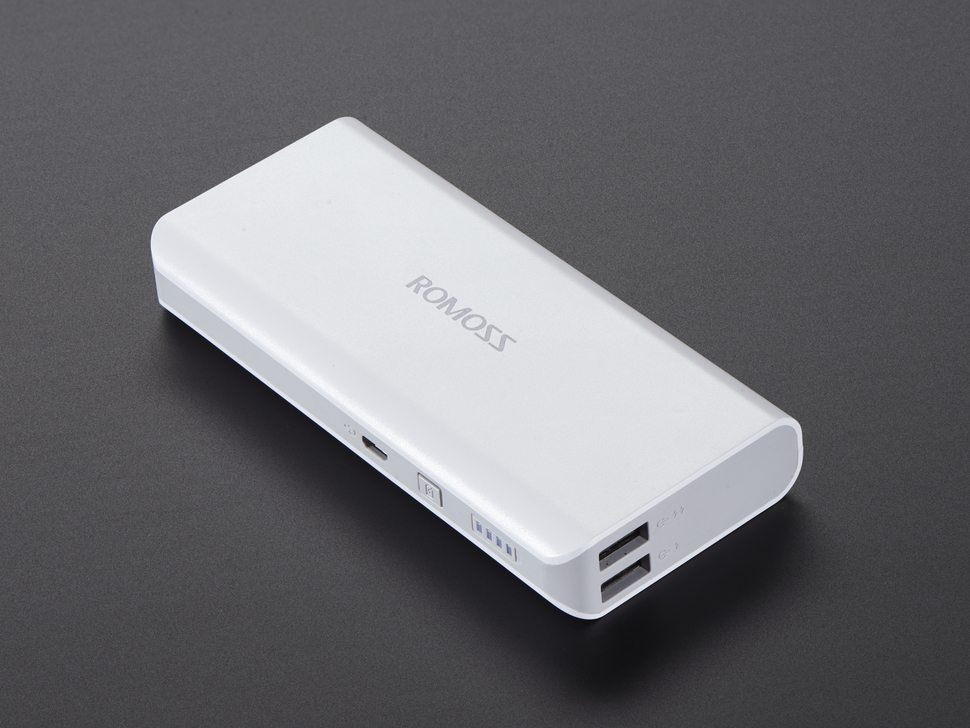
USB Battery Pack for Raspberry Pi – 10000mAh – 2 x 5V outputs
Description
A large-sized rechargeable battery pack for your Raspberry Pi (or Arduino, or Propeller, or anything else that uses 5V!). This pack is intended for providing a lot of power to an GPS, cell phone, tablet, etc but we found it does a really good job of powering other miniature computers and micro-controllers. If you want something a little smaller, we have a 4400mAh power pack with one USB port that can provide up to 1A We tested it with an iPad mini, iPad 1 & 3 and iPhone 5 & 5s so we know it will charge those models.
Inside is a massive 10,000mAh lithium ion battery, a charging circuit (you charge it via the USB cable attached), and two boost converters that provide 5VDC, 1A and 2A each via a USB A port. (The markings indicate one is good for 1A and one is good for 2A) The 2A output is best for charging tablets or other really power-hungry devices. But either can be used for when you want to power a Beagle Bone or Raspberry Pi, wifi adapters, maybe even small displays. We hooked it up to a 2.5″ NTSC display (powered from the Pi’s 5V breakout lines), wireless keyboard/mouse and a small WiFi dongle and it hummed along just fine as a mini computing setup!
The charging circuit will draw 1A from a 5V supply (plug a microUSB connector into the pack and then to a computer or wall adapter). You can charge and power something at the same time but the output switches to the USB input when charging so the output voltage may fluctuate. Its not good as a ‘UPS’ power supply for an embedded linux board, although microcontrollers like Arduino may not care about the voltage drop as much. Also, there’s ~80% efficiency loss on both ends so if you charge it at 1A and draw 1A at the same time, the battery pack will eventually go empty. However, if you’re powering something thats 500mA or less, you can keep it topped up no problem. Also, when you start and stop charging the pack, it will flicker the output, this can cause a ‘power sensitive’ device like the Pi or an iPhone to reset on the power supply. If using it with a low current load, say under 100mA, the pack may ‘fall asleep’ – you can use this circuit to keep the pack awake
How long it will last depends a bit on what you have connected. We ran a ‘headless’ pi (no keyboard, mouse, display attached) with a mini WiFi adapter plugged into the USB port and pinged it once a second to keep the network connection from going to sleep and it lasted 15 hours. There is a 4-step LED charge status display which you can turn on/off with the button. However, the button is not a general on/off for the entire pack! There’s no way to turn off the pack, as long as something is plugged in, it will power it. If you need a USB power switch, check out this item
Comes with the battery pack and a micro-B cable that you can use for charging the pack or powering a device with a micro B port.
以為簡便呦。何況 3.5″ adafruit PiTFT 早熟門熟路呀︰
《勇闖新世界︰ 《 Kernel 4.X 》之整裝蓄勢 ‧PiTFT‧一》
。怎知一試『竟然卻是不行』,考之於論壇只見
raspbery pi 3 PITFT PLUS
can anyone tell me if RPi 3 is compatible with this screen ?
https://www.adafruit.com/products/2441
thanks
,該如何講『縱貫橫通』遇『時流變遷』耶?☆