若說在樹莓派上安裝與啟動樹莓派基金會之 raspbian OS 十分簡單,事實上假使不知道『預設』者,也只能到作業系統的『 login 』大門而已。非得知道『預設』使用者是『 pi 』,以及『預設』使用者之密碼為『 raspberry 』才能『入門』登堂。
因此首次面對『 RetroPie 』此一龐大複雜系統的人,務須詳讀
| Version |
|---|
| 3.5 |
Congratulations! You have discovered the wonderful world of RetroPie- your entire childhood is within reach! RetroPie is a combination of multiple projects including RetroArch, EmulationStation, and many others.
This page is for people just getting started on RetroPie 3.5. The easiest way to install RetroPie is the SD image which is a ready to go system built upon top of the Raspbian OS – this is the method described in the following guide. Alternatively, advanced users can install RetroPie manually.
This guide will give you the very basics to get you up and running from a blank SD card to first boot into EmulationStation.
───
多遍,最好能記下文本中一時還不清楚的『字』與『詞』,方下載『映象檔』開始拷貝安裝。
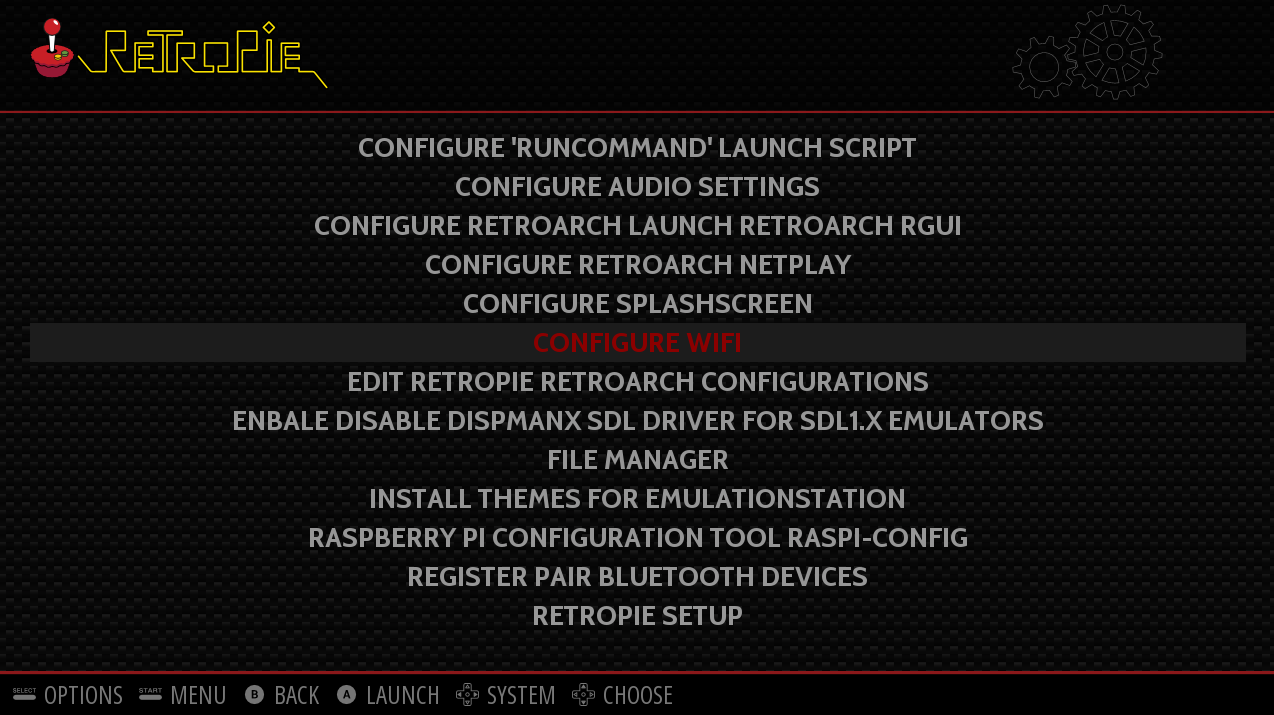
安裝前請先想像『完成後』 RetroPie 系統的『功能』和『操作』,內有『 RetroPie 』之『系統設定』使用者界面︰
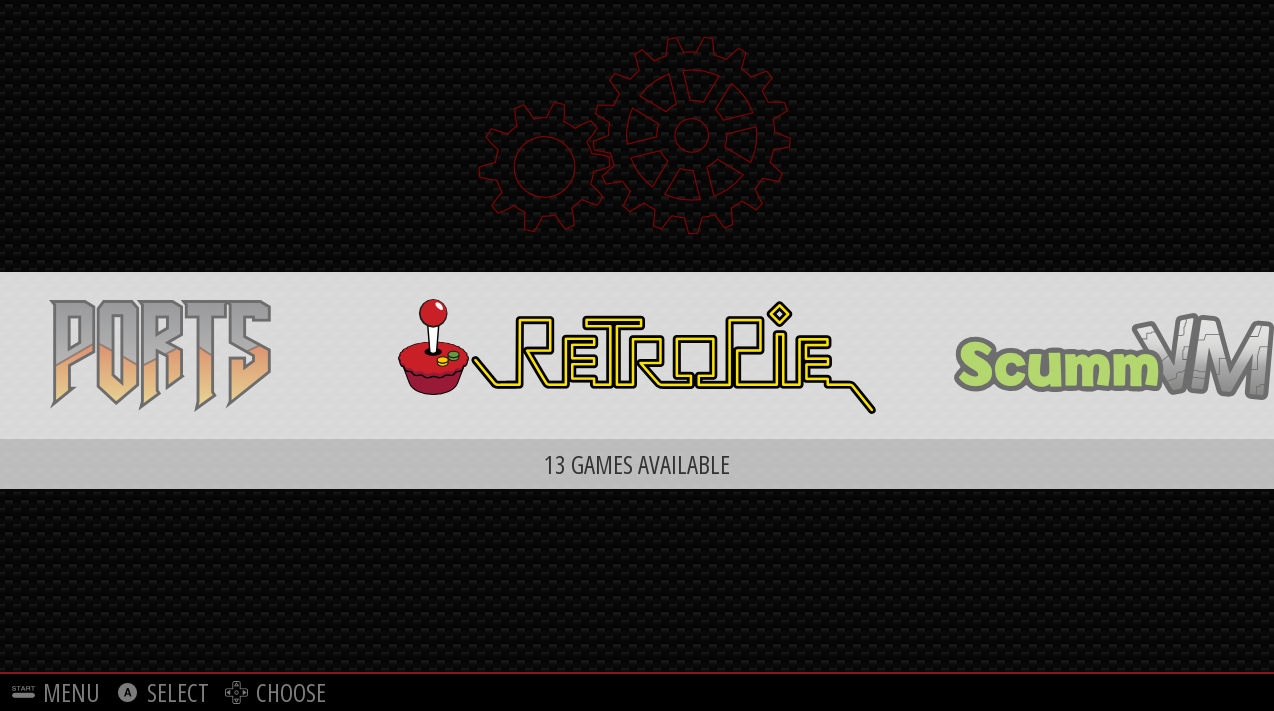
還有『 EmulationStation 』選擇『模擬器』、『選單』、『遊戲』 、『 RetroPie 系統設定』等等使用者界面︰
安裝後所有的使用者界面之『操作』,源自『首次啟動』時,首選『輸入裝置』── 鍵盤、搖桿、遊戲手柄 …──的『組構』︰
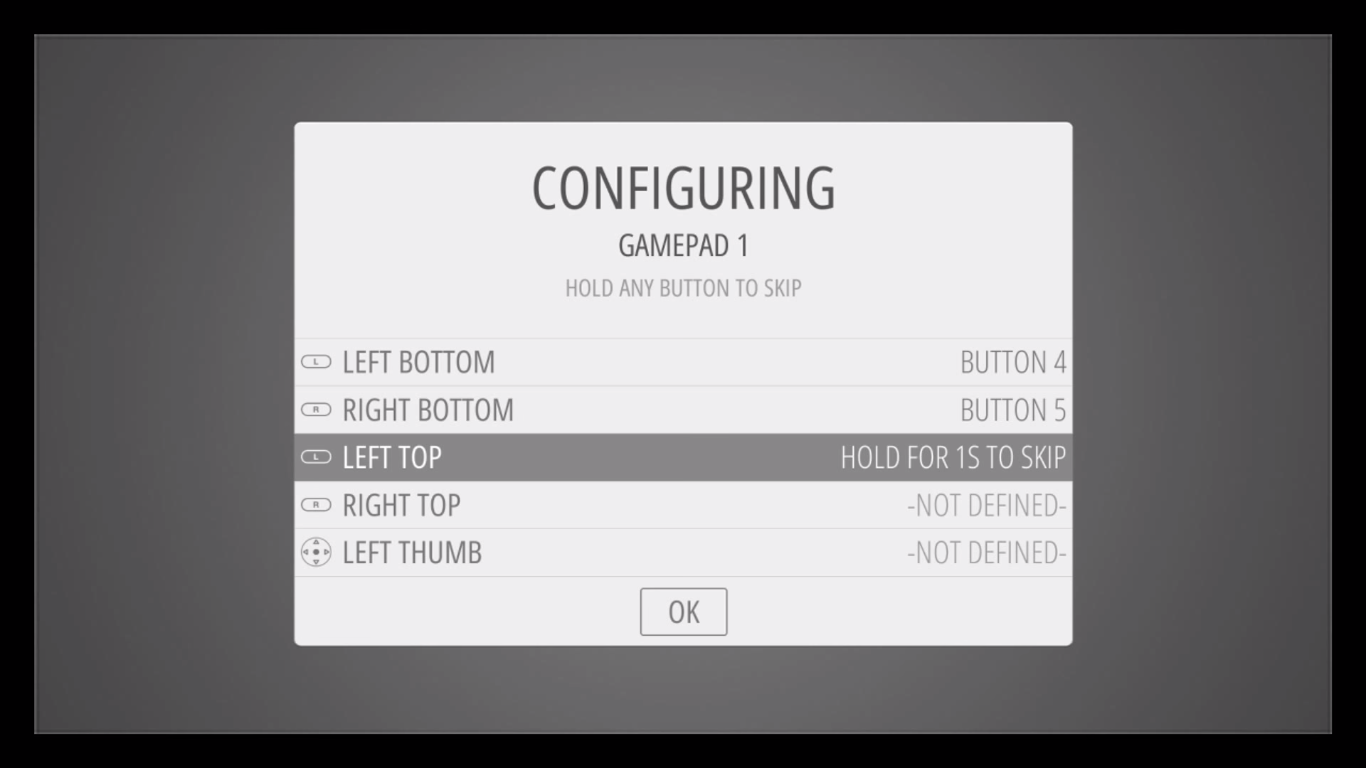
這個『首次組構』也會傳遞構成了『 RetroArch Configuration 』之多種『模擬器』的『預設控制』。因此請慎選『首選設備』,仔細閱讀
RetroArch Configuration
RetroArch is the official front end for the Libretro API which essentially means that RetroArch will be what manages controls and configurations for all of the emulators that are part of the Libretro-Core (i.e. any emulator with an “lr” before it). This is a beautiful thing because it means you can configure controllers only once for many emulators instead of having to configure each emulator individually. RetroArch also gives us the freedom to configure emulators individually as discussed below under “Custom RetroArch Controls” (There are also emulator specific configurations for emulators not part of the libretro core under their respective emulator wiki page.)
Retroarch Controls
There are 3 main ways that RetroArch handles controls:
AutoConfigurations
Starting with Retropie 3.0 retroarch controls have been integrated into emulationstation and will be the first thing you see when you boot from the RetroPie SD image the first time. You can also access it from the start menu within emulationstation under the configure input option. Your joypad is automagically configured for libretro (retroarch) emulators when you configure your controller for the first time in emulationstation. You’ll know if your controller has been automagically configured if you see a flash of yellow text on the bottom of the screen with your gamepad ID when you start a game.
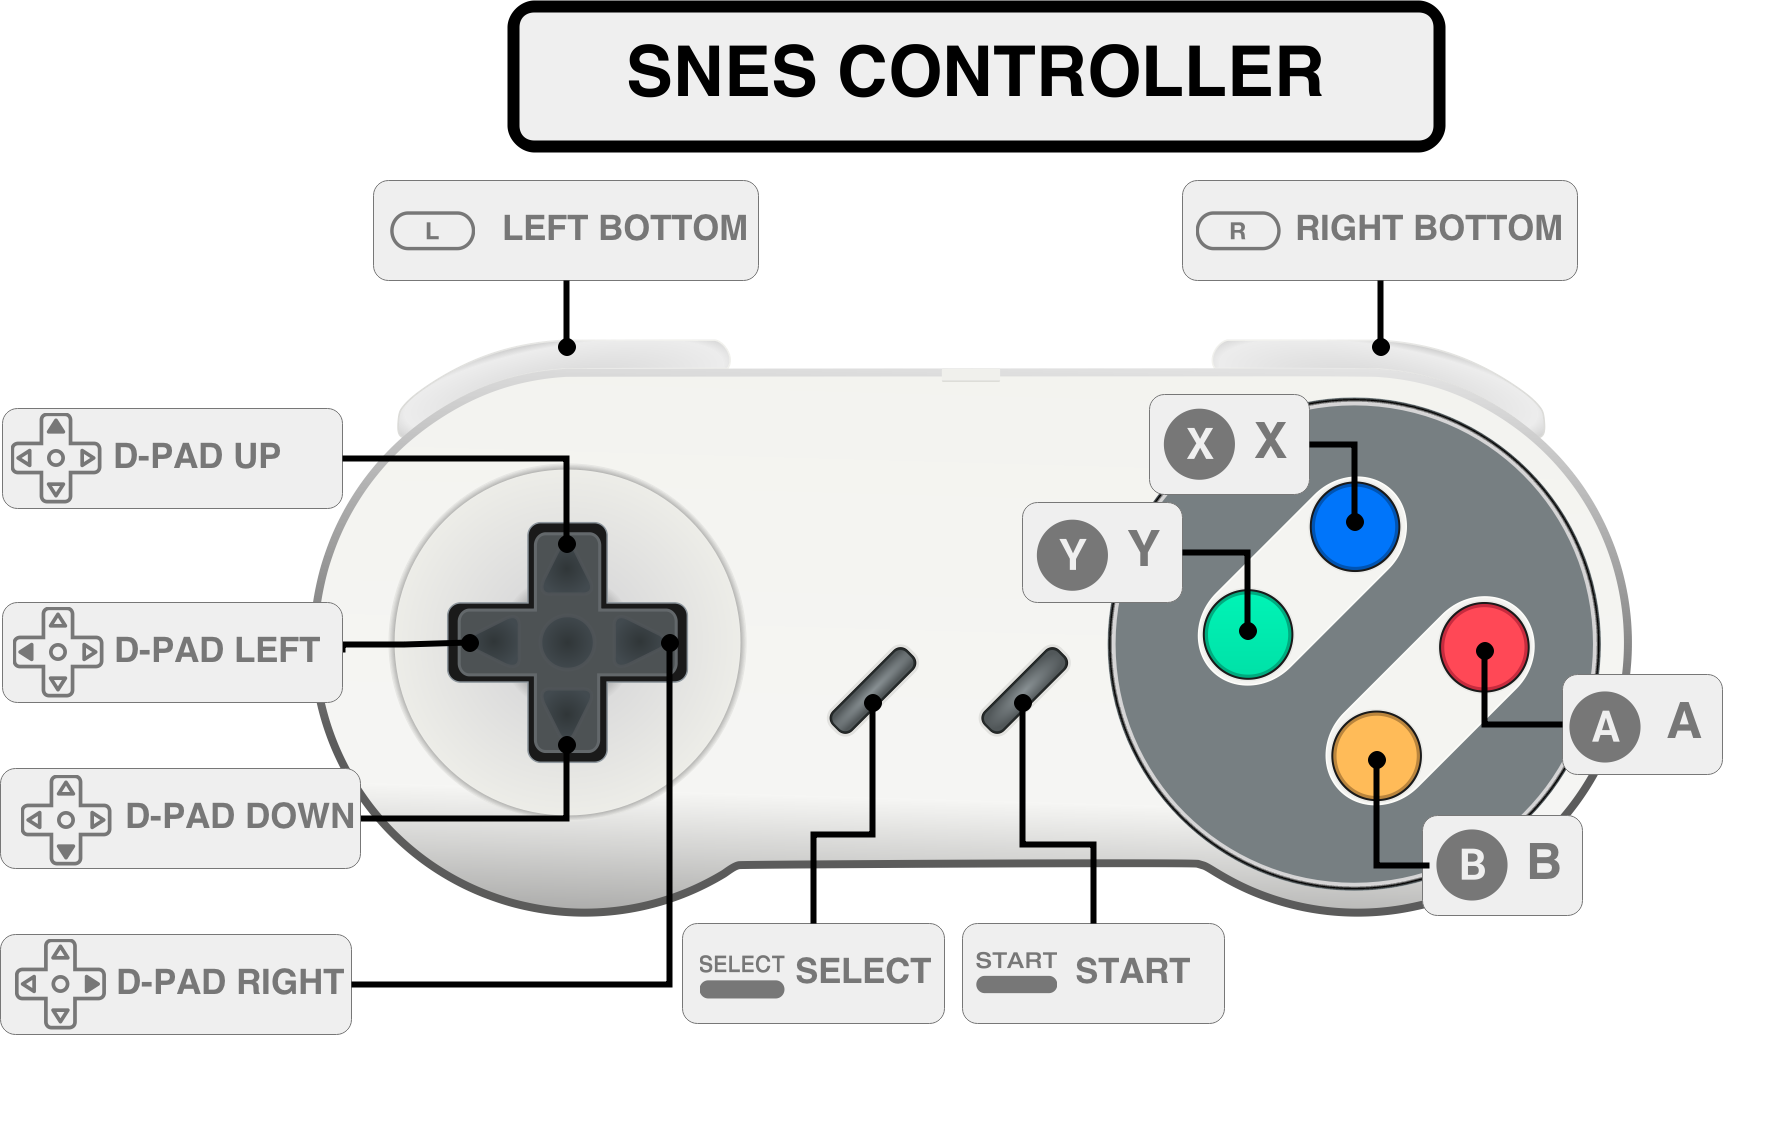
The following diagrams are for the 3 most common controllers: Super Nintendo, Xbox 360, and PlayStation 3. They can be used as a reference when configuring your controllers. Each emulator page on the wiki has a diagram of the original controller for its respective console that will correspond to the same inputs listed below.
……
Hotkeys
Hotkeys are combinations of buttons you can press in order to access options such as saving, loading, and exiting games. The following defaults are set automatically the first time you set up your controller from emulationstation (The numbers will vary depending the controller you use).
Default joypad hotkeys:
| Hotkeys | Action | Code Example |
|---|---|---|
| Select | Hotkey | input_enable_hotkey_btn = “6” |
| Select+Start | Exit | input_exit_emulator_btn = “7” |
| Select+Right Shoulder | Save | input_save_state_btn = “5” |
| Select+Left Shoulder | Load | input_load_state_btn = “4” |
| Select+Right | Input State Slot Increase | input_state_slot_increase_btn = “h0right” |
| Select+Left | Input State Slot Decrease | input_state_slot_decrease_btn = “h0left” |
| Select+X | RGUI Menu | input_menu_toggle_btn = “3” |
| Select+B | Reset | input_reset_btn = “0” |
───
後,再決定輸入裝置的『按鍵』之『定義』以及『配合』。如是或可祇用一隻搖桿悠遊也。